PacketRanger: Making Sense of NetFlow Filters
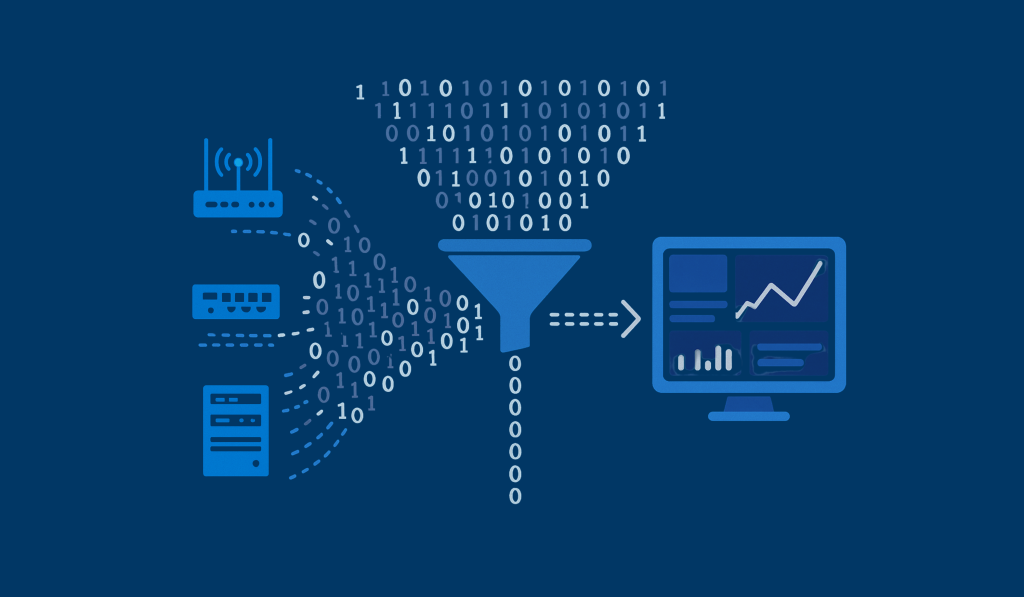
If you’ve ever looked at your NetFlow data and thought, “There’s way too much noise here,” you’re not alone. That’s exactly why PacketRanger gives you the power to fine-tune what data flows through your system using NetFlow Filters.
Why NetFlow Filters Matter
Think of NetFlow filters like noise-canceling headphones for your telemetry traffic. They block out the chatter you don’t need — keeping your dashboards clean and your analytics focused on what matters. Whether you want to eliminate redundant data, exclude noisy hosts, or filter on specific fields, filters give you precise control over what passes through.
And the need for this control has never been greater. According to multiple industry studies, the average enterprise now generates over 300% more NetFlow and IPFIX data than it did just five years ago, driven by cloud adoption, IoT devices, and encrypted application monitoring. Some large enterprises process tens of billions of flow records daily, overwhelming monitoring tools and driving up storage and processing costs.
PacketRanger is built to keep up — capable of handling over 3 million flows per second on a single node, and scalable across redundant clusters, it ensures enterprises can process massive data volumes without degradation or packet loss. Without filtering and deduplication, many organizations find their observability systems struggling to keep up — both in performance and in cost efficiency.
How PacketRanger Handles NetFlow
PacketRanger supports NetFlow v5, v9, and IPFIX (v10) — processing and filtering flow data in real time before forwarding it to downstream analytics or storage systems.
For v9 and v10, PacketRanger requires NetFlow Templates to be received before those packets can be parsed or filtered. Templates define the structure of each flow record, and without them, filtering logic cannot be applied accurately.
Two key settings let administrators fine-tune how PacketRanger behaves when templates or flows are incomplete.
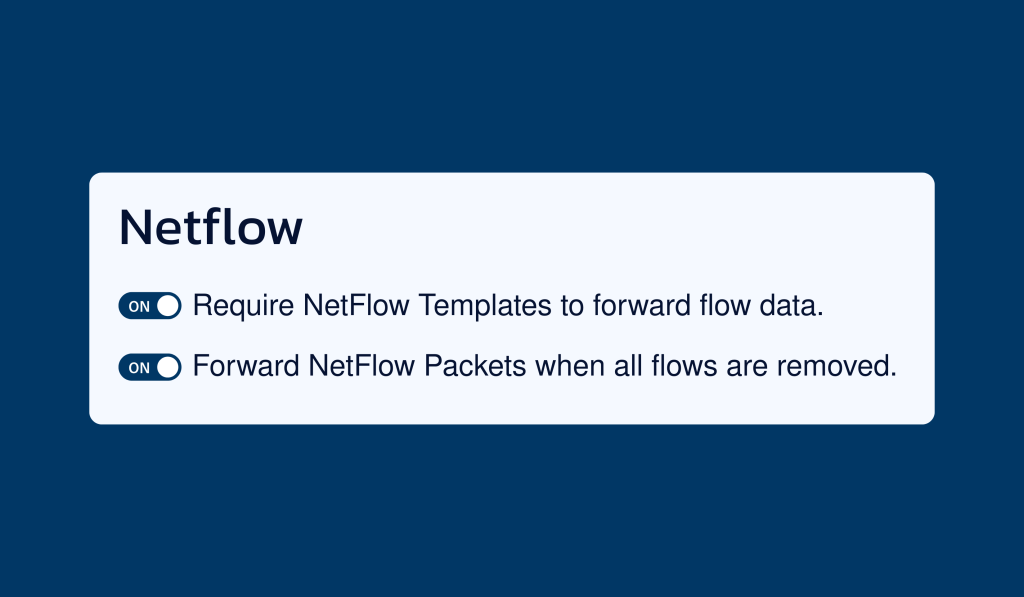
PacketRanger can be setup to require NetFlow Templates be received prior to forwarding any flow data. In other words, PacketRanger removes any flowset that references a template it hasn’t yet received. This is a critical feature when maintaining strict data control is more important than retaining every record. Optionally, PacketRanger can forward the full flowset even if the template is unknown.
PacketRanger can forward NetFlow Packets even when your filters have removed all flows. This means that PacketRanger forwards a NetFlow packet with a zero-record count, preserving the sequence number for continuity.
Together, these options let you balance data integrity, visibility, and performance — whether you want complete fidelity or a leaner, high-efficiency data stream.
How It Works
Each filter is made up of one or more conditions. A condition might specify things like a source address, destination port, or protocol number. If any condition matches, that flow record is removed from the flowset data in the packet before it’s forwarded. It’s that simple.
For example:
Let’s say multiple routers are exporting NetFlow records for the same traffic path, and you’re seeing duplicate flows because of overlapping NextHop values. You can create a filter to remove flows where the NextHop attribute matches a specific IP or range — such as your internal aggregation router. This ensures only unique upstream flows are retained, removing duplicates that share the same source, destination, and NextHop attributes.
You can also add excluded addresses if there are a few IPs you want to keep even within a filtered range. For instance, “Filter flows with NextHop = 192.168.10.* except 192.168.10.25.”

Customer Template Field Identifiers
PacketRanger’s NetFlow v9 and IPFIX (v10) support lets you go beyond basic filters with custom field IDs, giving you full control over which flow elements are included or ignored.
If you need to filter by a field not in the default IANA list, PacketRanger lets you create it yourself in the NetFlow Template Field Definitions view — accessible right from the web interface.
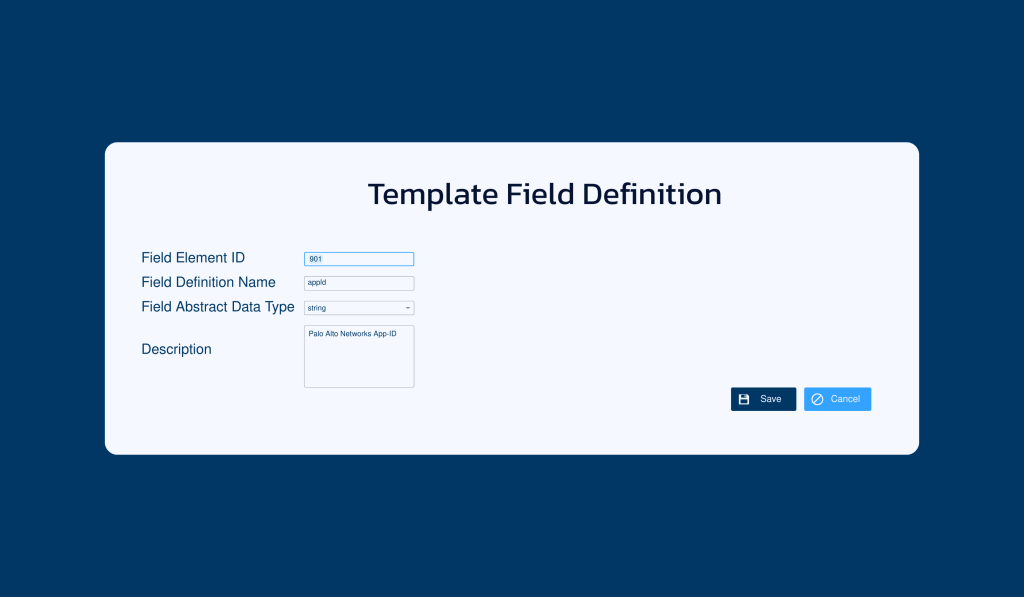
Here’s how:
- • Go to Configuration → Forwarding Rules → NetFlow Filters → Field Definitions.
- • Click Add New Field Definition.
- • Enter a unique Field Element ID and a Field Name.
- • Choose an Abstract Data Type — options include unsigned32, string, macAddress, ipv4Address, float64, dateTimeNanoseconds, and more.
- • (Optional) Add a Description to help identify its purpose.
- • Save your new field, and it will appear as a selectable condition in the NetFlow Filter creation dialog.
To make use of the new field, ensure your exporters send NetFlow templates that include this element ID — only then can PacketRanger apply it for filtering.
Creating a Filter Condition
Once your field definitions are ready, you can build precise, reusable NetFlow Filter Conditions that define what gets filtered and what passes through.
Here’s how to set one up:
- • Go to Configuration → Forwarding Rules → NetFlow Filter Conditions.
- • Click Add New Filter Condition Rule to open the creation dialog.
- • Enter a Condition Name and (optionally) a short Description.
- • Click Add Criteria to begin defining your logic — each criterion you add must evaluate to true for the condition to be met.
- • Select a Field Element (hovering shows its data type and description).
- • Choose a Data Type Semantic — this determines how the filter compares values.
- • Enter a Filter Criteria — the value or pattern to test against.
Depending on the field type, you can choose from different comparison options:
- • Numbers: less than, greater than, equals, or not equals
- • Strings: contains or does not contain
- • IP Addresses: equals or not equals (supports wildcards and ranges)
Example:
Let’s say you want to exclude a small subset of IPs from a larger range. You can set two criteria:
- • sourceIpv4Address equals 10.254.12.[1-4]
- • sourceIpv4Address not equals 10.254.12.3
This removes flows for all IPs in that range except .3, effectively fine-tuning your data visibility.

Applying Filters to Your NetFlow Telemetry Pipeline
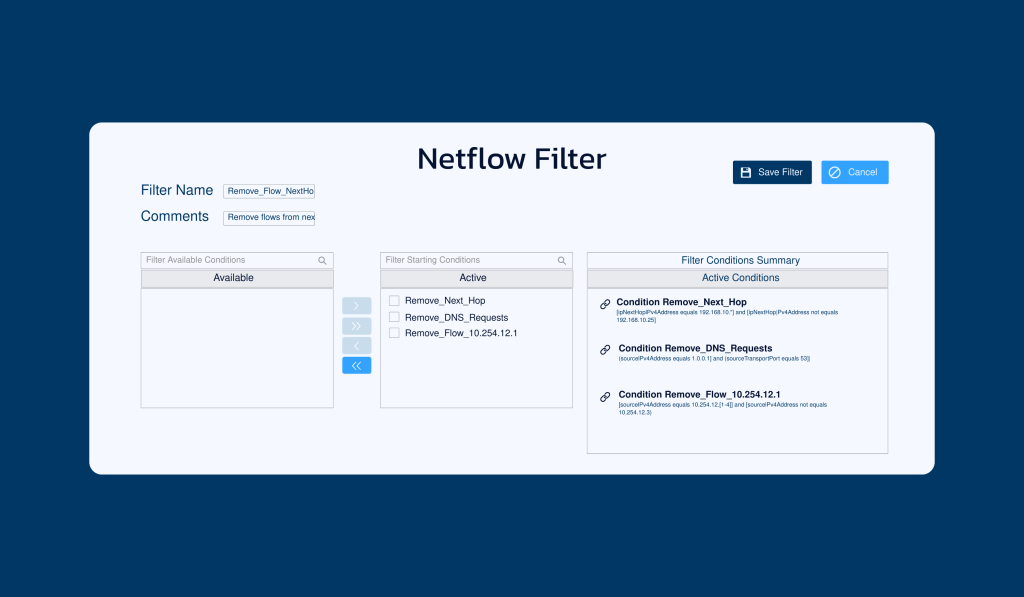
Once your NetFlow Conditions are defined, you can combine them into named NetFlow Filters that actively remove unwanted flow data before it ever reaches your analytics tools.
Here’s how to do it:
- • Go to Configuration → Forwarding Rules → NetFlow Filters.
- • Click Add New Filter to open the creation window.
- • Give your filter a Name (required) and add Comments if you’d like.
- • Use the PickList Widget to assign previously created NetFlow Conditions.
- ◦ Conditions listed under “Available” can be moved to “Active” to include them.
- ◦ The Filter Conditions Summary table provides an at-a-glance view of what each condition does.
- • Click Save Filter to validate and store your new configuration.
How It Works:
Each condition inside a filter must have all of its criteria evaluate to true before the condition passes. When multiple conditions exist within a single filter, PacketRanger evaluates them using a logical OR syntax:
Remove flows if Condition A or Condition B or Condition C match.
Once your filter is saved, it can be applied directly to a NetFlow rule:
- • Go to Configuration → Forwarding Rules → IPv4 / IPv6 Rules.
When creating or editing a NetFlow rule, select your desired filter from the Filter dropdown menu.
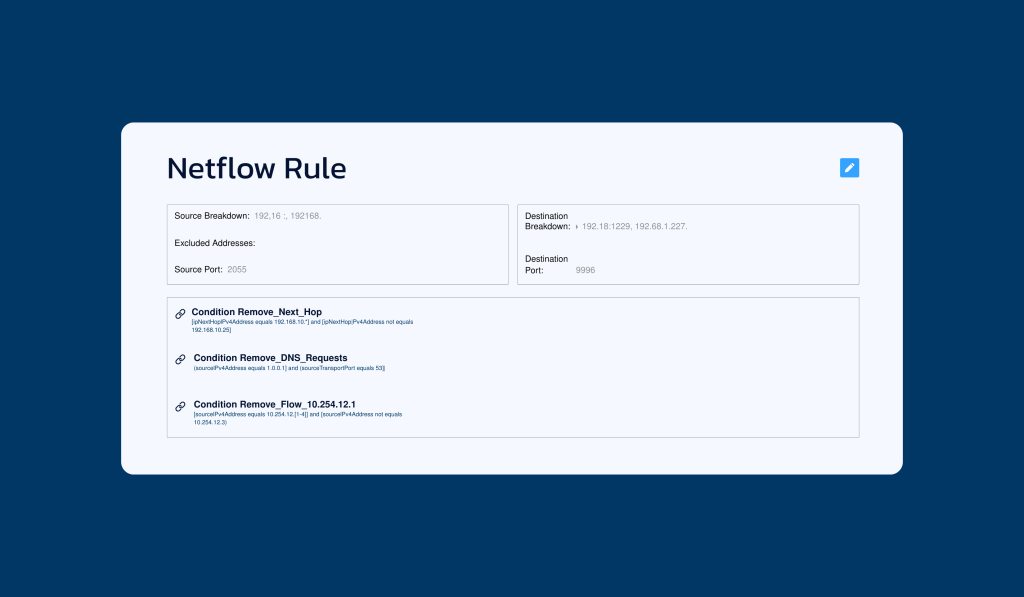
This integration ensures that filtering happens inline — right within the telemetry pipeline — keeping your downstream systems fast, efficient, and clutter-free.
The Bottom Line
With NetFlow filters, you get cleaner data, faster performance, and better insights. By trimming the fat at the source, PacketRanger ensures your monitoring tools only see what’s important and nothing more. In today’s data-heavy networks, filtering isn’t just convenient — it’s essential to keeping your observability stack scalable, efficient, and cost-effective.
